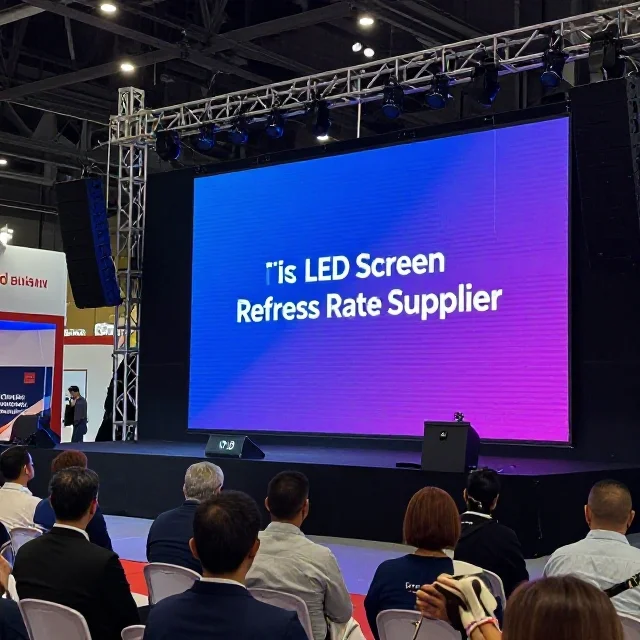
LED screens are widely used for concerts, exhibitions, conferences, product launches, retail advertising and outdoor events across Dubai and the UAE. They deliver bright colours, large images and dynamic video content, but recording them with a camera can sometimes produce unexpected visual problems. Horizontal dark bands, flickering lines, rolling patterns and uneven brightness may appear in the recorded footage even when the screen looks perfectly normal to people watching it directly.
These problems usually occur because a camera captures light differently from the way the human eye perceives a continuously viewed display. LED refresh behaviour, brightness control, camera shutter speed, sensor readout and video processing can all influence the final recording.
Understanding the causes makes it easier to troubleshoot LED display problems before an important event. Whether you are filming a corporate presentation at Dubai World Trade Centre, recording a concert, livestreaming a conference or producing promotional videos for an exhibition stand, the right combination of display settings and camera configuration can significantly improve recording quality.
Why Do LED Screens Show Flickering Lines on Cameras?
LED screens produce images by controlling the brightness of individual light-emitting diodes. Although a display may appear continuously illuminated, its electronics update image information and regulate brightness using methods that operate over time.
A camera also captures light over a specific exposure period. Depending on its shutter settings and sensor design, it may record only part of the LED display’s light-output cycle. When the timing of the camera exposure does not align well with the display’s behaviour, the recorded image can contain visible bands, flickering or brightness variations.
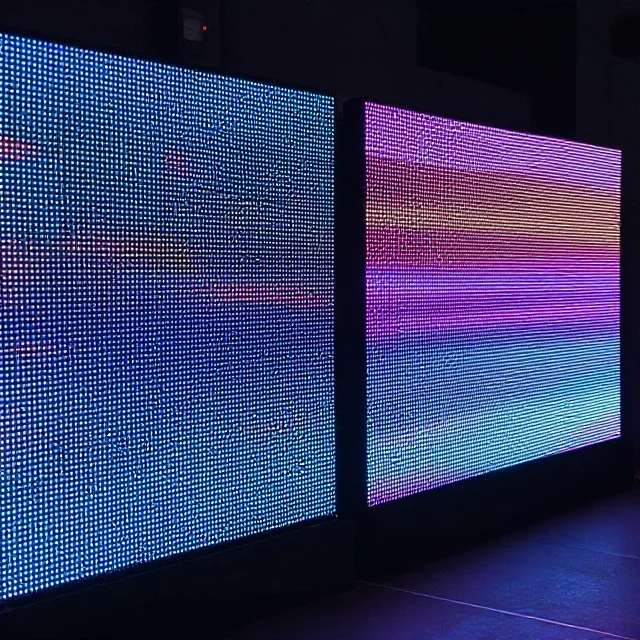
This effect is particularly noticeable with large LED video walls, concert screens, exhibition displays and digital signage recorded using professional cameras or smartphones.
The problem does not automatically mean the LED panel is defective. It may be caused by a mismatch between the camera and display settings, although poor display electronics, incompatible equipment or incorrect configuration can also contribute.
Understanding LED Refresh Rate and Camera Shutter Speed
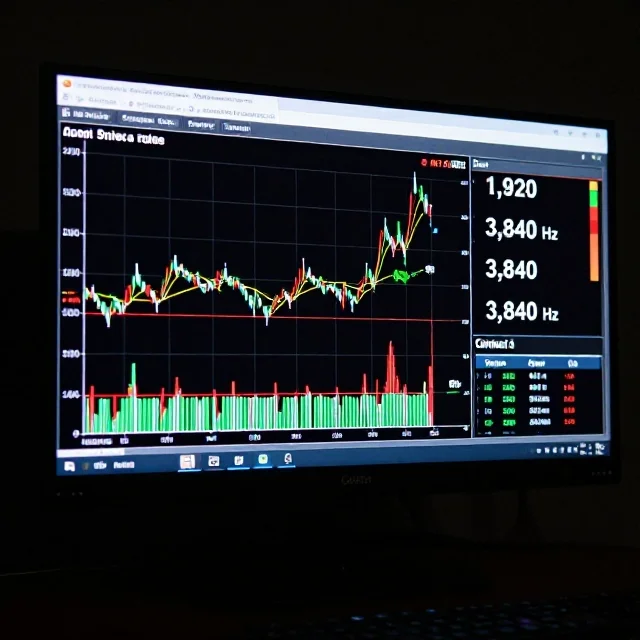
LED refresh rate describes how frequently the display refreshes its output, measured in hertz (Hz). Professional LED displays may advertise refresh rates such as 1,920 Hz or 3,840 Hz, with other specifications available depending on the product and technology.
Camera shutter speed describes how long the camera sensor is exposed to light for each frame. For example, a shutter speed of 1/50 second means the exposure lasts approximately one-fiftieth of a second.
These values measure different things, but their interaction can influence how the LED screen appears in recorded footage. A camera may capture a display at an exposure time that interacts poorly with the panel’s refresh behaviour or brightness-control cycle.
However, refresh rate alone does not determine camera performance. The LED driver IC, scanning method, pulse-width modulation (PWM), greyscale performance and display brightness can also affect the result.
For this reason, choosing a screen with a high advertised refresh rate is not enough. The display should be tested with the actual camera, frame rate, shutter settings and brightness levels that will be used during the event.
What Causes Horizontal Black Lines on LED Screens When Filmed?
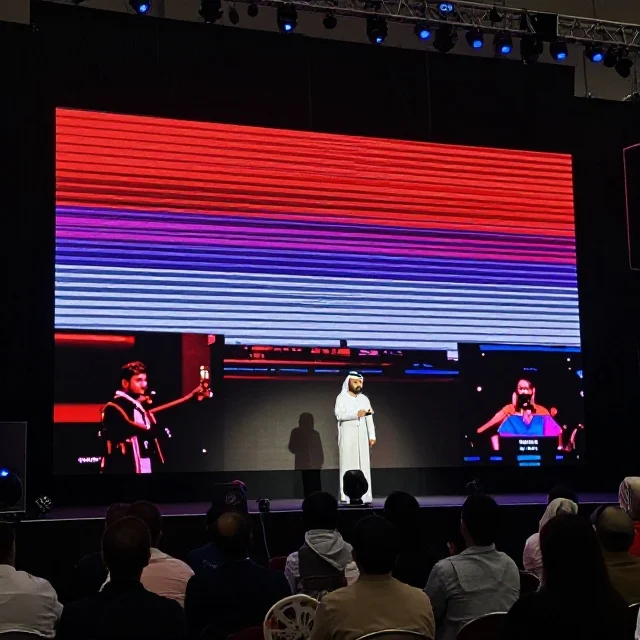
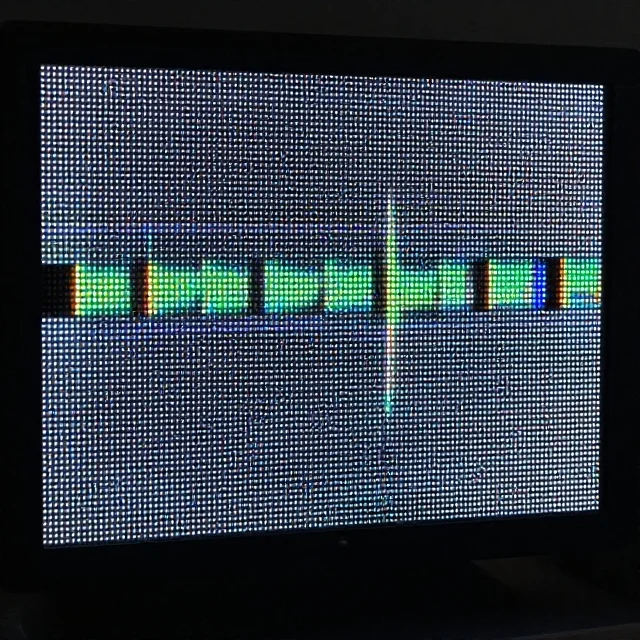
Horizontal black lines are often associated with the interaction between a camera’s rolling shutter and the LED display’s changing light output.
Many digital cameras do not read the entire sensor at precisely the same instant. Instead, a rolling-shutter sensor captures different rows of the image at slightly different times. If the LED display’s brightness varies during this process, different parts of the camera frame may record different brightness levels.
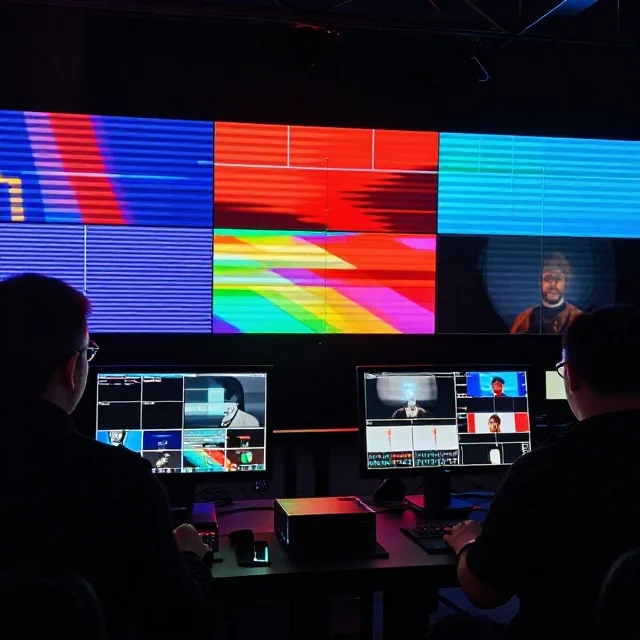
The result can be dark horizontal bands, bright stripes or rolling lines that appear to move across the screen. Their position and speed may change when the camera’s shutter speed or frame rate changes.
These artefacts are common possibilities when recording LED walls at live events, especially when cameras use high shutter speeds or when the display operates at particular brightness settings.
A global-shutter camera can reduce rolling-shutter-related effects because it captures the sensor’s image simultaneously. However, it cannot eliminate every form of LED flicker, since the display’s light output and camera exposure timing can still interact.
How Pulse-Width Modulation Causes Flickering
Pulse-width modulation, commonly known as PWM, is one method used by LED display systems to regulate brightness. Instead of simply reducing the continuous current supplied to an LED, a PWM system controls how long the LED is switched on and off during a repeating cycle.
The perceived brightness depends partly on the proportion of time the LED remains illuminated. At certain operating conditions, the switching may be too rapid for the human eye to notice, but a camera can still capture variations depending on exposure timing and sensor behaviour.
This is one reason a display can appear stable in person while showing visible flicker or uneven brightness in video recordings.
The effect can become more noticeable at lower brightness levels on some displays. However, performance varies by panel design, driver electronics, dimming method and operating configuration. It should not be assumed that every LED screen behaves identically.
If flickering becomes visible after the screen brightness is reduced, test several brightness settings and review the recorded footage. A compatible display configuration may provide better camera performance without making the screen unnecessarily bright.
How to Prevent Flickering Lines by Adjusting Camera Settings
Camera settings are among the first things to check when an LED screen shows flickering lines. Small adjustments can sometimes reduce the problem without requiring changes to the display hardware.
Match the Frame Rate and Shutter Speed
Start by identifying the frame rate used for recording. Common video frame rates include 25, 30, 50 and 60 frames per second (FPS), although other formats are available.
In many video workflows, the shutter speed is selected using the approximate 180-degree shutter rule. This generally means a shutter speed near twice the frame rate denominator, such as 1/50 second for 25 FPS or 1/60 second for 30 FPS.
These are starting points rather than guaranteed solutions. LED display timing may require a different shutter setting to reduce visible bands. Test nearby shutter speeds while recording the actual screen content, and check the footage on a monitor.
For events in Dubai, production teams should conduct these tests before the audience arrives. A setting that works for one LED wall may not work equally well with another panel model or processor configuration.
Test Different Shutter Speeds
If horizontal bands appear, record short clips using several shutter speeds supported by the camera. For example, a production team recording at 25 FPS might compare settings around 1/50 second with other compatible exposure times.
Observe whether the bands become lighter, darker, slower or disappear. Review the recorded files rather than relying only on the camera’s live preview.
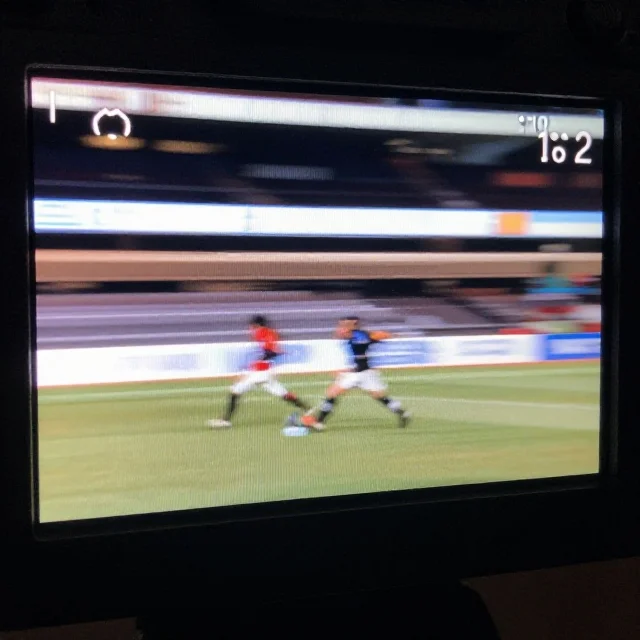
When filming live performances or sports, avoid making large shutter changes without considering motion rendering. Faster shutter speeds can make movement appear sharper but less natural, while slower shutter speeds can introduce more motion blur.
The aim is to find a balance between clean LED screen footage, suitable motion appearance and the lighting conditions at the venue.
Use Manual Exposure When Appropriate
Automatic exposure can change shutter speed, aperture or ISO while the camera is recording, depending on the camera mode. Such changes can make footage inconsistent, particularly when the scene includes a bright LED wall against a dark stage.
Where practical, use controlled exposure settings and test the display before filming. Locking exposure can help maintain consistency, although it will not independently eliminate a mismatch between camera timing and LED light output.
Also check that automatic anti-flicker settings are compatible with the recording frame rate and local lighting conditions. Anti-flicker features designed for conventional indoor lighting may not resolve every LED video-wall problem.
Adjusting LED Screen Brightness and Display Settings
If camera adjustments do not resolve the issue, inspect the LED display configuration. Brightness, refresh behaviour, dimming settings and driver performance can affect how the screen appears in recorded video.
First, test the display at several brightness levels. If the bands are more visible at a low setting, try a moderate brightness level and record another sample. Avoid increasing brightness beyond what the venue and content require, particularly in dark indoor environments.
Next, ask the LED technician to check the panel’s refresh-rate settings, compatible dimming options and available camera-oriented configurations. Some professional display systems offer settings designed to improve filming performance, but the available controls depend on the hardware and controller.
The video processor should also be checked for compatible input signals, output settings and firmware configuration where relevant. Incorrect settings can introduce additional display artefacts or make troubleshooting more difficult.
Never assume that a single menu option will solve every flicker problem. Test the complete system under the actual operating conditions and document the settings that produce the best result.
Why a High Refresh Rate Does Not Always Eliminate Flicker
A high LED refresh rate can be beneficial for camera applications, but it is not a universal guarantee of flicker-free recording.
Two LED panels with the same advertised refresh rate may perform differently because they use different driver ICs, scanning methods, PWM implementations and greyscale control systems. Brightness settings and camera exposure can also influence the recorded result.
For example, an LED wall specified at 3,840 Hz may still show horizontal bands when filmed with an incompatible shutter speed or under certain dimming conditions. Another panel with a different design may produce cleaner footage in the same recording environment.
This is why buyers should evaluate the display’s real camera performance instead of comparing refresh-rate numbers alone.
When selecting a display for concerts, live streaming, corporate events or exhibition filming, request documented specifications and conduct a camera test using the intended recording equipment. Ask about low-brightness performance, colour consistency, processor compatibility and available camera-friendly settings.
The Role of LED Controllers and Video Processors
An LED controller or video processor receives video signals, processes the image and distributes the information required by the display panels. It can influence signal compatibility, scaling, timing and how content is delivered to the LED wall.
If the source device, processor and display do not support compatible signal formats, the system may introduce frame conversion, unstable playback or other visual problems. Although not every such issue creates flickering lines, checking the signal chain is an important troubleshooting step.
Verify the source resolution, input frame rate, processor configuration and supported output settings. Inspect signal cables and connections if the display also experiences intermittent image loss, unusual colour changes or inconsistent playback.
For a large LED wall assembled from multiple cabinets, technicians should also check cabinet configuration, panel calibration and consistency across the installation. A problem limited to one section of the wall may point towards a local module, connection or configuration issue rather than a camera-wide shutter mismatch.
How to Test an LED Screen Before a Live Event
Testing before the event is one of the most effective ways to prevent camera-related display problems. A short technical rehearsal allows the production team to identify issues while there is still time to adjust the system.
Start with the actual video content, playback device, LED processor and cameras planned for the event. Record moving graphics, scrolling text, high-contrast images and darker scenes. Static colour patterns alone may not reveal every problem.
Test at the intended camera frame rate and shutter speed. If flicker appears, adjust one setting at a time and record a fresh sample. Change the LED brightness if necessary and compare the results across several clips.
For multi-camera productions, test every camera model and recording configuration that will be used. Different cameras can respond differently to the same LED wall because their sensors and exposure settings are not identical.
Finally, review the footage on a separate monitor. Check for horizontal bands, pulsing brightness, colour shifts and inconsistent appearance across the display. Save the successful settings so the team can restore them if the system is reconfigured before the event.
Preventing Flicker at Exhibitions and Events in Dubai
Dubai’s event industry uses LED screens for exhibition stands, conferences, corporate launches, concerts, retail activations and outdoor promotions. These applications often involve photography, livestreaming and video production, making camera compatibility an important part of equipment selection.
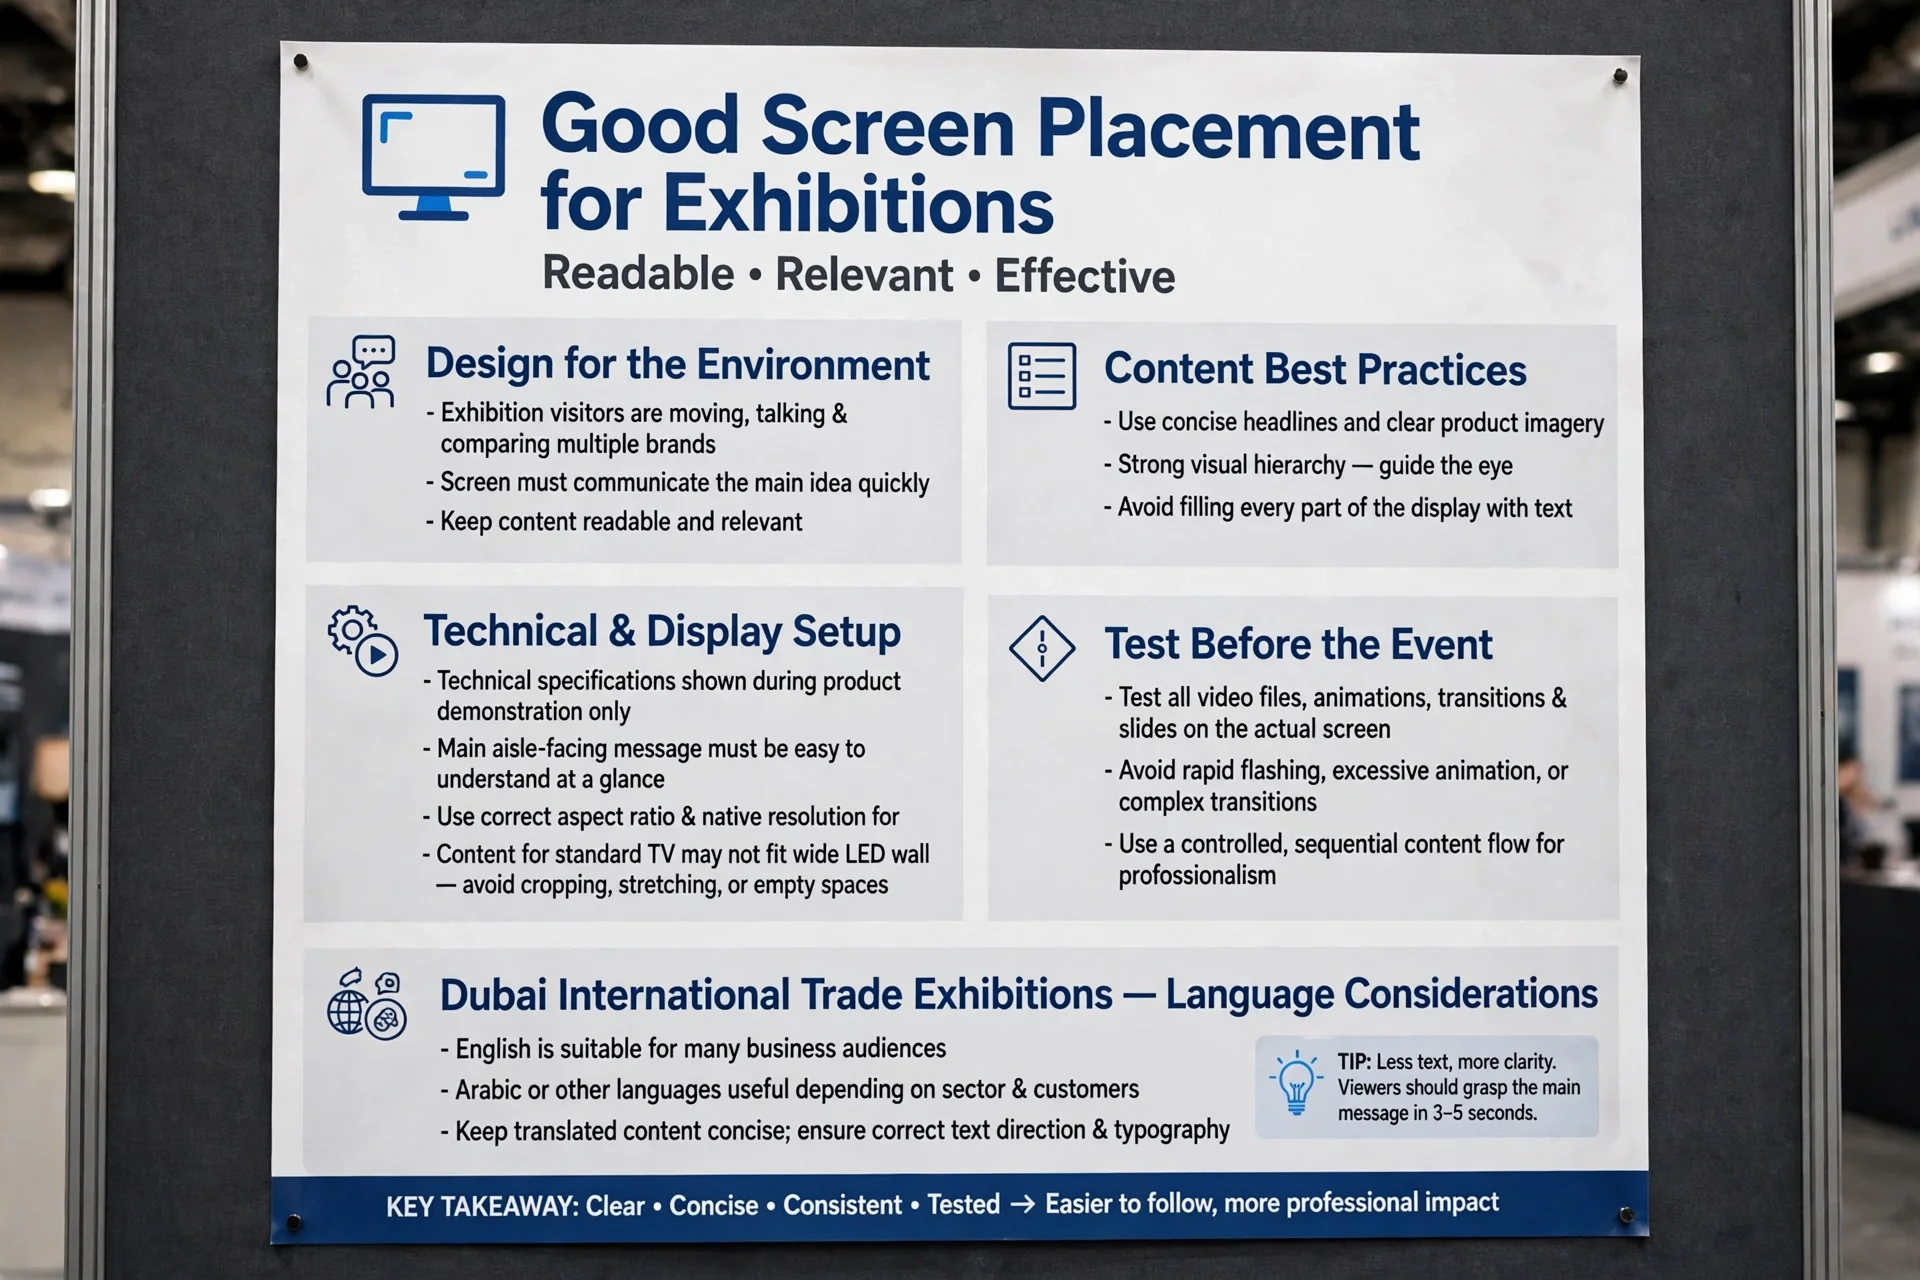
At Dubai World Trade Centre and Expo City Dubai, exhibitors may use LED walls to display product demonstrations, brand videos and presentation graphics. The screens should be tested under the actual venue lighting and camera conditions rather than relying solely on the equipment specifications.
For concerts and large stage productions, the production team should coordinate camera operators, LED technicians and video engineers before the event. Agree on the recording frame rate, shutter settings, screen brightness and processor configuration during technical rehearsal.
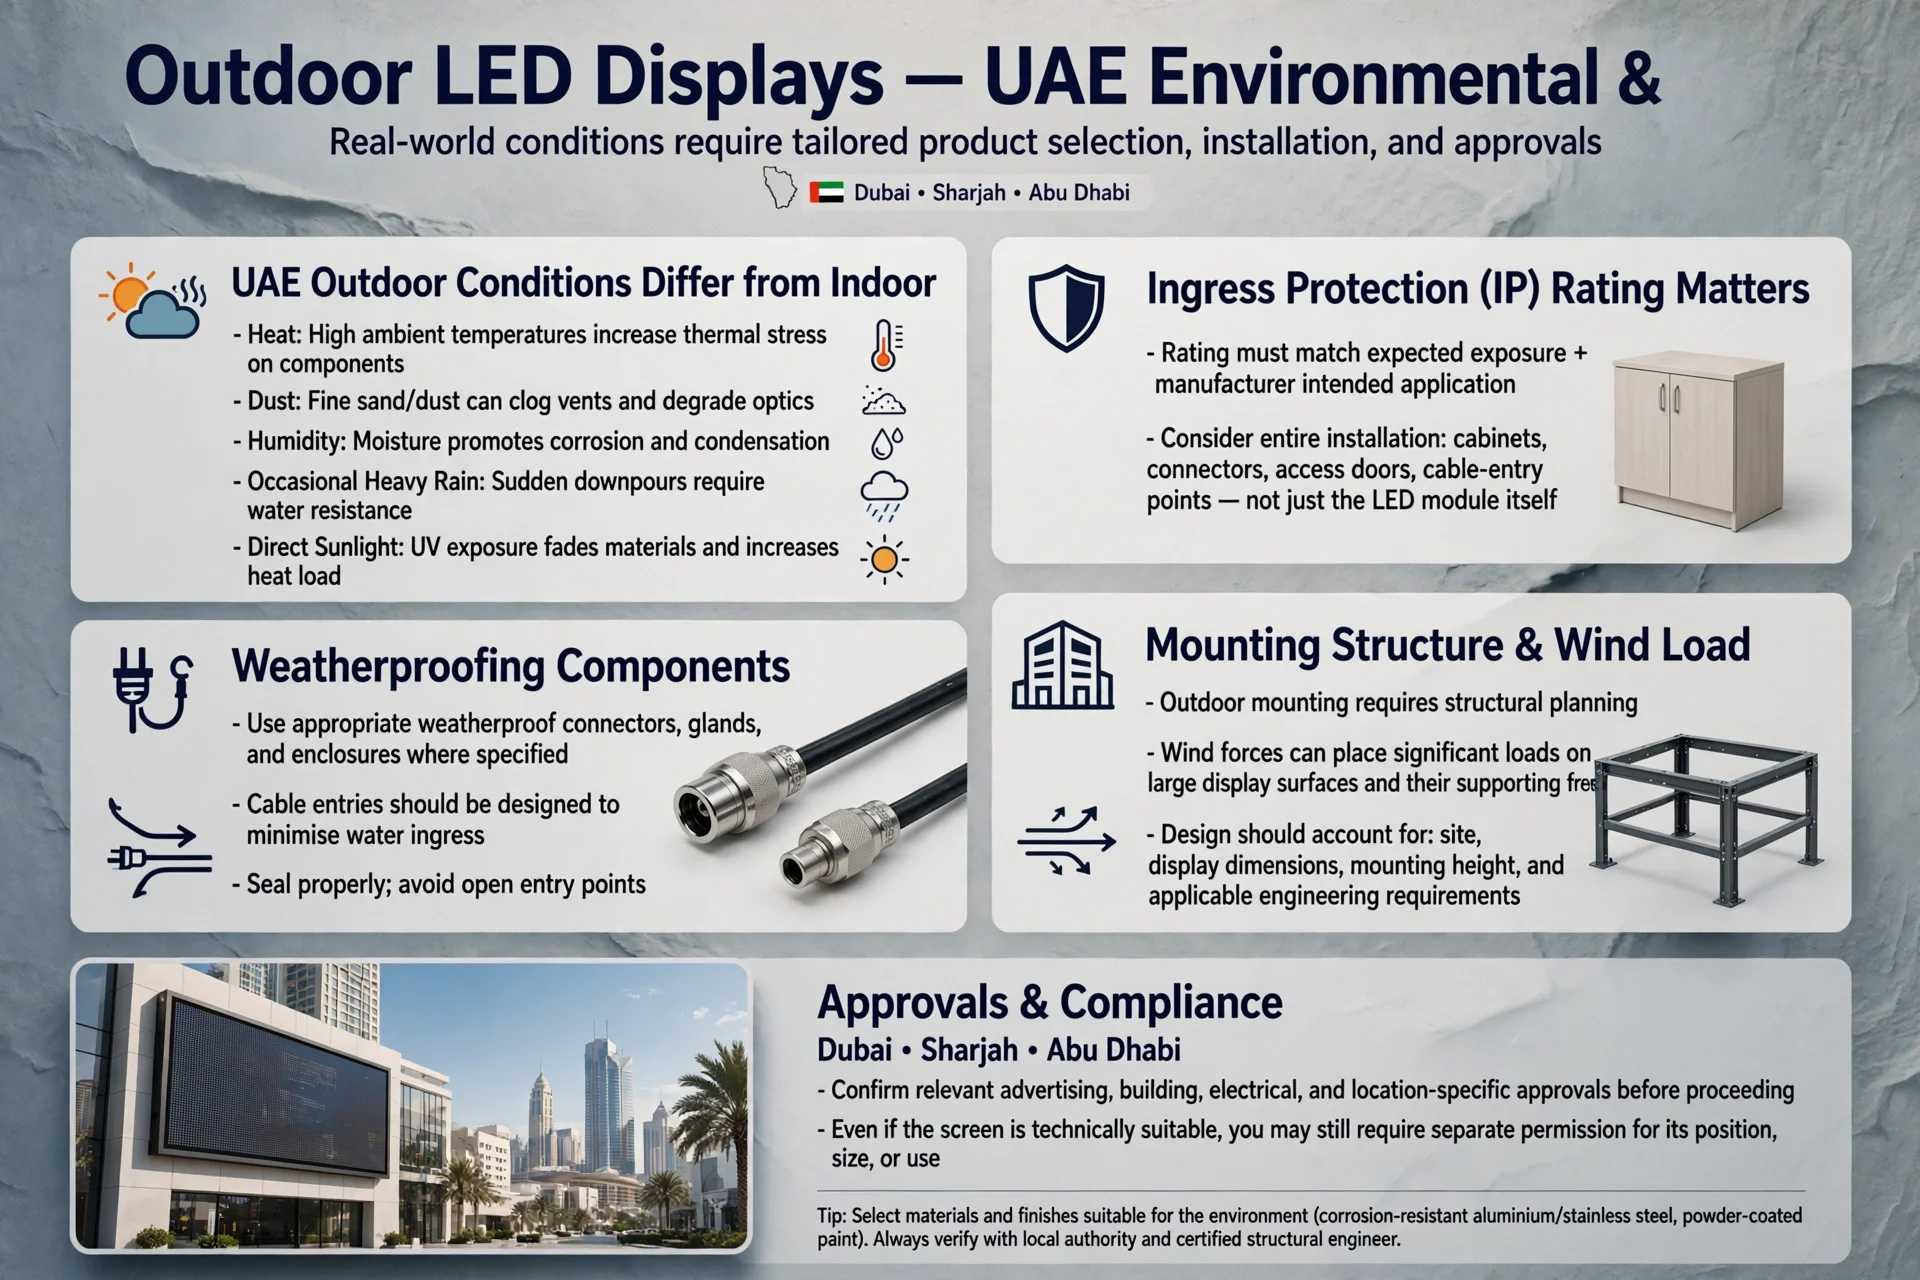
Outdoor installations in Dubai, Abu Dhabi and Sharjah also require suitable brightness, weather protection, ventilation and safe installation practices. These factors do not directly eliminate camera flicker, but they contribute to reliable operation and consistent image quality.
Businesses comparing equipment can consult an experienced LED Screens Supplier to evaluate display refresh behaviour, pixel pitch, brightness, controller compatibility and camera performance for the intended application.
How to Choose an LED Screen for Camera-Friendly Performance
When purchasing or renting an LED display, begin by identifying how the screen will be used. A retail advertising display may mainly show scheduled promotional videos, while a concert wall may need to support multiple cameras, live video feeds and fast-moving visual effects.
Ask the supplier for the actual refresh-rate specification and information about the panel’s driver electronics, dimming method and low-brightness performance. Clarify which input frame rates and resolutions the processor supports, and whether the system offers any camera-oriented configuration options.
Pixel pitch should also match the viewing distance and camera framing. A display that looks detailed from across a large hall may show visible pixel structure when a camera zooms in from close range.
Other important considerations include brightness, colour calibration, greyscale performance, cabinet alignment, maintenance support and installation requirements.
Most importantly, test a sample of the intended content using the camera equipment that will record the event. Real footage provides more useful evidence of camera compatibility than a headline refresh-rate specification alone.
Common Mistakes to Avoid When Troubleshooting LED Flicker
One common mistake is immediately replacing the LED screen before checking the camera settings. Shutter speed, frame rate and sensor behaviour can contribute to the problem, so basic camera tests should come first.
Another mistake is assuming that a high refresh rate guarantees clean footage. The complete display design, brightness-control method and camera configuration all matter.
Increasing screen brightness to its maximum is not always the right solution. It may reduce the visibility of some artefacts in particular circumstances, but it can also make the screen uncomfortable for viewers, affect image appearance and exceed the appropriate brightness for the venue.
Production teams should also avoid changing several settings simultaneously. If the result improves, it becomes difficult to determine which adjustment made the difference. Change one variable at a time and record the results.
Finally, do not leave camera compatibility testing until the event is underway. Last-minute troubleshooting can delay a production and may not leave enough time to coordinate the camera, processor and display teams.
Frequently Asked Questions
Why do LED screens look normal to the eye but flicker on camera?
The human eye and camera sensors perceive light differently. The display’s refresh and dimming cycles can interact with the camera’s exposure timing and sensor readout, creating flicker or horizontal bands that are not obvious during direct viewing.
What shutter speed should I use when filming an LED screen?
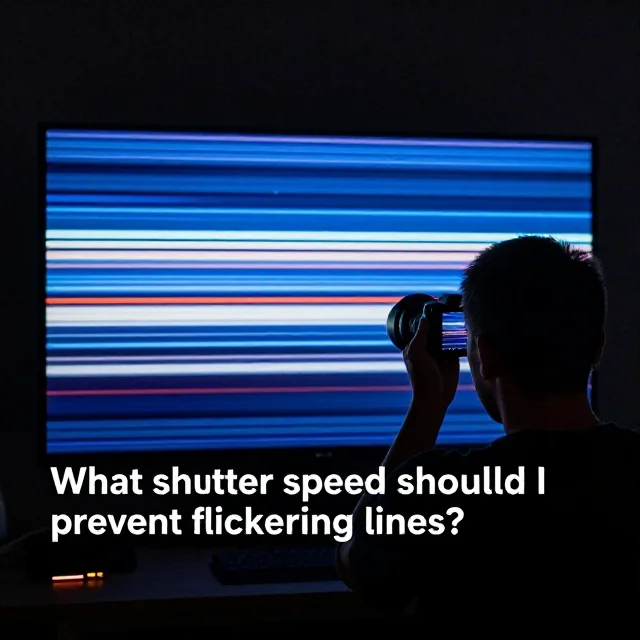
A common starting point is a shutter speed near twice the frame rate denominator, such as 1/50 second at 25 FPS or 1/60 second at 30 FPS. However, the best setting depends on the specific display and camera. Record test clips at compatible shutter speeds and review the footage.
Does a 3,840 Hz refresh rate prevent flickering lines?
Not necessarily. A 3,840 Hz specification may help in some camera applications, but flicker also depends on the LED driver design, dimming method, brightness, camera shutter and sensor behaviour. Always test the complete system.
Why do flickering lines move up or down the screen?
Moving horizontal bands can result from the timing difference between a rolling-shutter camera and the display’s changing light output. The apparent movement may change when the shutter speed or recording settings are adjusted.
Can a smartphone record an LED screen without flickering?
Yes, but results vary by smartphone, camera mode and LED display. Try the available frame-rate and shutter controls, if supported, and record a test clip. Some smartphones provide limited manual control, so professional camera testing may be needed for critical productions.
Should I increase LED screen brightness to stop flickering?
Increasing brightness may reduce certain visible artefacts on some displays, but it is not a universal fix. Test different brightness levels while keeping the venue’s viewing conditions and the intended image quality in mind.
Can LED flicker affect livestreaming?
Yes. If cameras capture flickering bands or brightness variations, those artefacts may appear in the livestream and its recording. Test cameras, display settings and video processing together before going live.
Conclusion
Flickering lines on camera-recorded LED screens usually result from an interaction between display light output and camera capture timing. LED refresh rate, PWM dimming, shutter speed, frame rate, sensor readout and video processing can all contribute to the final image.
The most reliable prevention method is to test the complete system before the event. Start by adjusting the camera shutter and frame rate, then examine LED brightness, refresh settings and processor configuration if the problem continues. Record and review actual footage rather than judging the screen only by how it looks to the naked eye.
For exhibitions, concerts, conferences and advertising installations across Dubai and the wider UAE, choosing a suitable display and completing a technical rehearsal can help prevent avoidable filming problems and deliver more consistent visual results.