
Digital signage is everywhere today. From malls to offices, shops, restaurants, and events, you see bright screens showing promotions, information, and interactive content. But installing a digital sign is not just about putting a screen on a wall. There’s a careful process to make it safe, functional, and long-lasting.
Many people ask:
- How is digital signage installed?
- What equipment is needed?
- Can I install it myself?
- What are common mistakes?
- How does installation vary for different setups?
This guide explains how digital signage is installed, in simple English, based on real-world experience, so anyone can understand the process and get the best results.
What Is Digital Signage?
Digital signage refers to electronic displays used to show content such as advertisements, information, or interactive media. It includes:
- LED screens
- LCD panels
- Outdoor displays
- Indoor interactive displays
Digital signage is used in:
- Malls and shopping centers
- Offices and reception areas
- Airports and stations
- Shops and restaurants
In Dubai, digital signage is a major part of sign and display Dubai services, where businesses rely on high-quality installations to attract customers.
Planning the Installation
Before installing a digital sign, planning is key. Good planning prevents problems like:
- Electrical hazards
- Screen damage
- Poor visibility
- Short lifespan
Steps in Planning:
- Choose the location
- Wall-mounted
- Ceiling-mounted
- Free-standing (like Double Sided Free Standing)
- Measure the space
- Ensure the screen fits properly
- Allow room for cables and mounting brackets
- Check the environment
- Indoor vs outdoor
- Lighting conditions
- Weather protection if outside
- Determine power supply
- Ensure safe voltage and current
- Plan outlets and wiring
Types of Digital Signage Installation
Digital signage installation varies depending on the type and purpose.
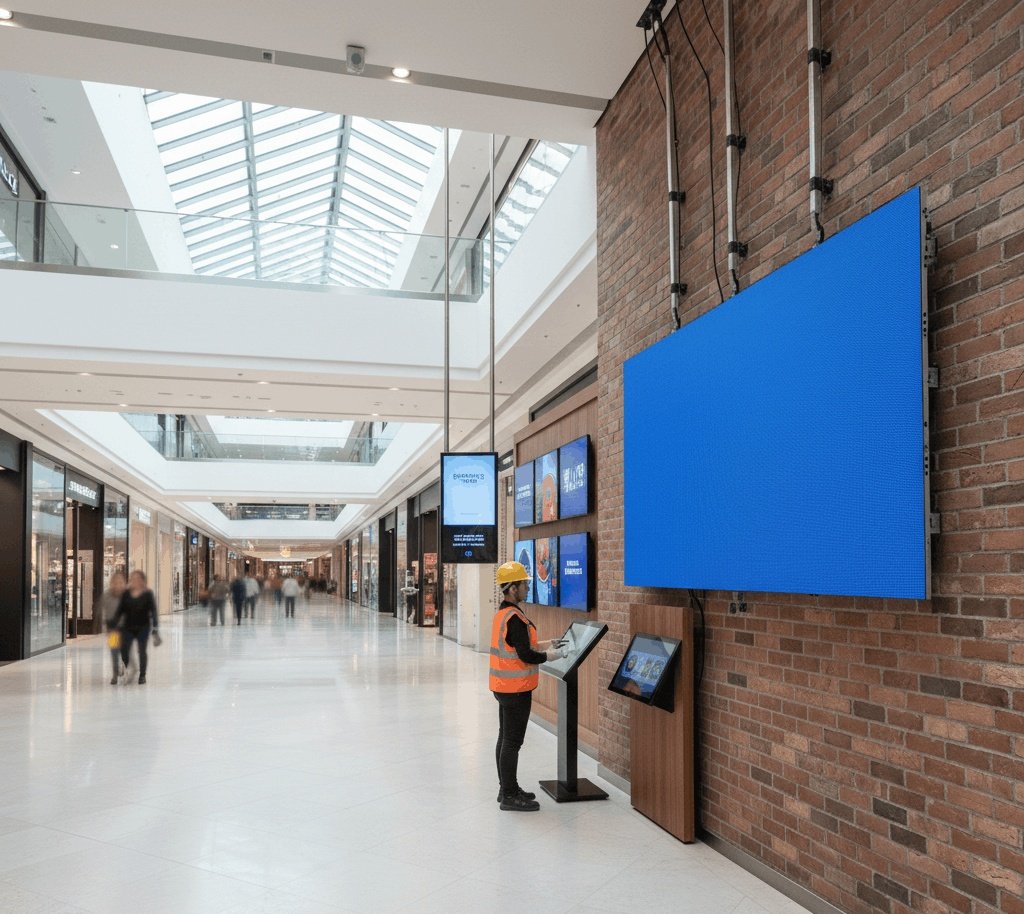
1. Wall-Mounted Screens
- Screens fixed on walls using brackets
- Common in offices, malls, and reception areas
- Must ensure secure mounting for safety
2. Ceiling-Mounted Screens
- Suspended from ceilings using mounts
- Used for visibility from multiple angles
- Requires stronger brackets and sometimes reinforced ceilings
3. Free-Standing Displays
- Can be moved anywhere
- Example: Double Sided Free Standing displays
- Popular in exhibitions, malls, and temporary setups
- Requires stable base to prevent tipping
4. Outdoor Signage
- Needs waterproof and weatherproof installation
- Proper brackets and enclosures protect electronics
- Often combined with LED screens and modules
Tools and Equipment Needed
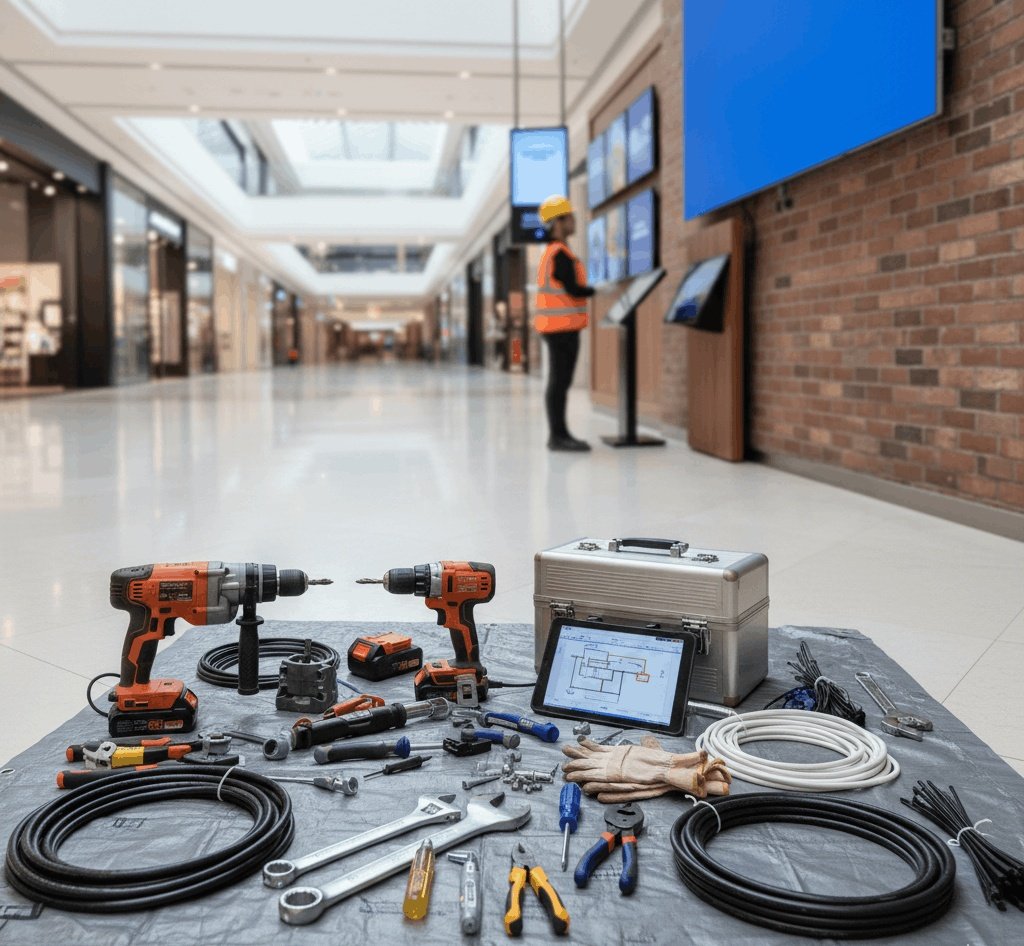
Installing digital signage requires proper tools and equipment:
- Mounting brackets or stands
- Screws and anchors
- Drill and screwdrivers
- Cable management accessories
- Power supply and adapters
- Level and measuring tape
- Safety equipment (gloves, ladder, etc.)
Having the right tools ensures installation is safe, neat, and professional.
Step-by-Step Installation Process
Step 1: Preparing the Site
- Clear the area of obstacles
- Check the wall or floor strength
- Ensure power source is nearby
Step 2: Mounting the Brackets or Stand
- Mark positions carefully
- Drill holes and fix brackets securely
- For Double Sided Free Standing, assemble the frame first and secure the base
Step 3: Installing the Screen
- Lift the screen carefully (use 2 people for large displays)
- Attach to the brackets or frame
- Check alignment with a level
Step 4: Connecting the Power
- Use the correct voltage power supply
- Connect the screen to the electrical outlet
- Ensure cables are hidden or organized
Step 5: Connecting Data Inputs
- HDMI, DisplayPort, or network cable
- For interactive signage, connect touchscreen sensors
- Test video and audio
Step 6: Cable Management
- Use cable ties, clips, or channels
- Keep cables away from heat or sharp edges
- Ensure accessibility for maintenance
Step 7: Testing the Display
- Turn on the screen
- Check brightness, colors, and content display
- Test remote control or network connection
- For rental or temporary setups, ensure screen can be moved easily
Safety Precautions
Digital signage installation involves electricity and heavy equipment. Safety tips:
- Always turn off power before wiring
- Use safety gloves and goggles
- Secure ladders or scaffolding
- Never overload outlets
- Check brackets for stability
Special Considerations for Outdoor Displays
Outdoor screens face weather, dust, and sun. Installation tips:
- Use waterproof enclosures
- Ensure proper ventilation
- Angle screens to reduce glare
- Protect power supply and cables from water
- Use high-brightness LED modules for visibility
Installation for Interactive Signage
Interactive digital signage, like touch screens, needs extra steps:
- Calibrate touch sensors
- Ensure software is installed and updated
- Secure the screen for repeated touch usage
- Manage network connections for remote content control
Maintenance During Installation
Good installation makes maintenance easier:
- Leave space behind wall-mounted screens
- Provide easy access to power and data cables
- Label cables for quick troubleshooting
- Use modular mounting for replacing parts without removing the whole screen
Installation for Temporary Displays
Temporary or event displays need flexible installation:
- Double Sided Free Standing displays are ideal
- Use lightweight frames and portable screens
- Ensure stable base to prevent tipping
- Keep cables organized but accessible
Common Mistakes to Avoid
Mistake 1: Ignoring Power Requirements
- Always check voltage and current
- Underpowered signs flicker or fail
Mistake 2: Poor Mounting
- Weak brackets can cause screens to fall
- Use proper anchors and screws
Mistake 3: Bad Cable Management
- Tangled cables look messy
- Can cause short circuits or maintenance problems
Mistake 4: Skipping Testing
- Test content and connection before leaving site
- Ensure all features work
Personal Experience With Signage Installation
In one mall project, we installed several wall-mounted and free-standing screens. Initially, some displays were flickering because the power supply was undersized. After adjusting the power and re-mounting the brackets, all displays worked perfectly.
For temporary events, Double Sided Free Standing displays were very effective:
- Easy to assemble
- Stable and visible from both directions
- Could be moved as needed
This showed that the installation process and planning are just as important as the screen itself.
Choosing a Professional Installer vs DIY
While small screens may be installed by yourself, professional installation is recommended for:
- Large LED walls
- Outdoor signage
- Interactive displays
- Rental or event setups
Professional installers ensure:
- Safe mounting
- Correct wiring
- Long-lasting performance
Final Thoughts
Digital signage installation is not just about mounting a screen. It involves planning, proper mounting, power setup, cable management, and testing. Whether you are installing:
- Wall-mounted screens
- Interactive displays
- Double Sided Free Standing units
- Outdoor LED signage
Careful installation ensures safety, long life, and professional appearance. In Dubai, businesses rely on high-quality services for sign and display Dubai projects to attract attention and provide clear communication.
With proper installation, digital signage becomes a powerful tool for marketing, information, and engagement.